Illusion Knitting is also known as Shadow Knitting. When you look straight on to a piece of illusion knitting you see only two-colour stripes. A picture or pattern can be seen when you look from a different angle.
It has a gallery of our completed works, free patterns and patterns to buy,
and free tutorials for you to create your own designs
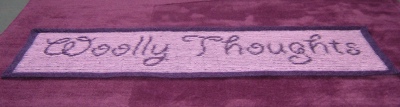
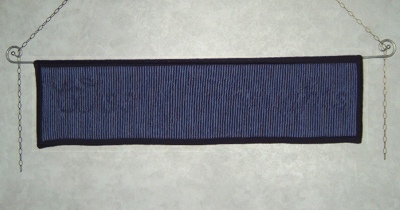
The photos below show two banners, using the basic illusion knitting methods. The same method is used for both but working in a different direction. One reveals the illusion when looked at from below; the other should be viewed from the side.
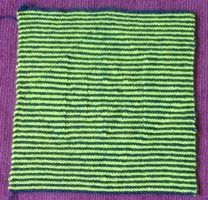
Our first illusion design was based on From Square to Eternity. One colour is definitely the background; the other, which can only be seen from the correct angle, creates the squares. The photographs below show two views. One is the stripes you see from straight in front of the piece, the other is when viewed from an angle.
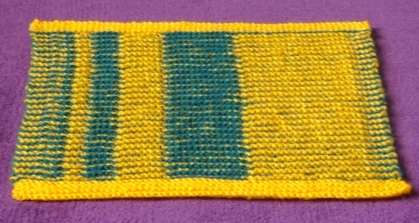
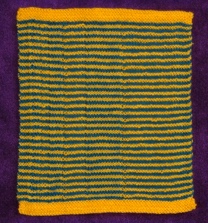
This Fibonacci design shows only narrow horizontal stripes when seen from directly in front but reveals vertical Fibonacci stripes when seen from an angle. There is no definite background or foreground.
These ideas have now been developed much further to include optical illusions, portraits, circular shadows, and more.