

Waistcoats with unusual construction

Waistcoats are a good way to try out techniques as you can concentrate on getting the back and front right and not have to worry about the sleeves.
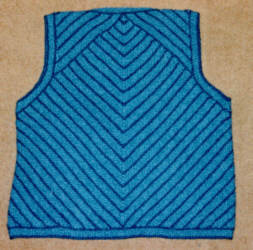
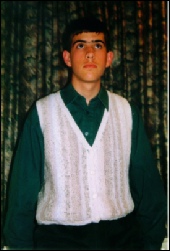
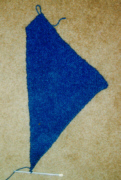
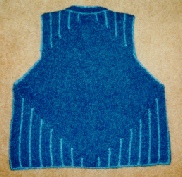
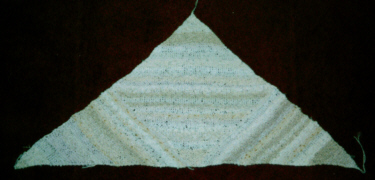
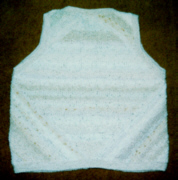
The vertical edge of this section forms the front edge of the waistcoat. Some of the neck shaping can be seen at the top. The narrow point wraps round to reach the centre back.
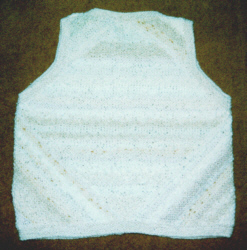
After this stage the knitting needs to continue in separate sections for back and front, leaving a shaped gap for the armholes.
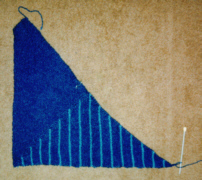
By the time the point at centre back is reached all stitches have been worked off and the remaining area to the shoulders is knitted in a different direction after picking up stitches.
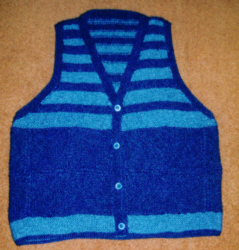
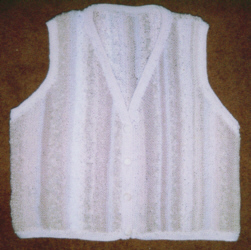
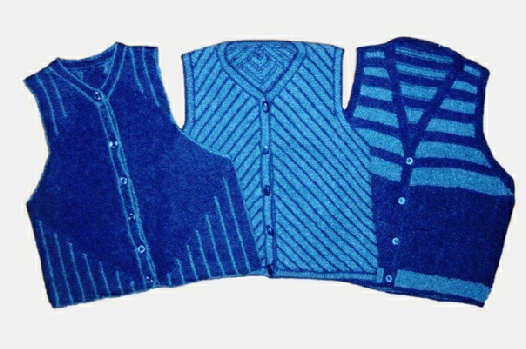
The narrow bands echo the pattern of stripes and tidy up any uneven edges. (Working in stripes means new yarns frequently have to be joined in or carried up the sides, so there are always untidy edges.)

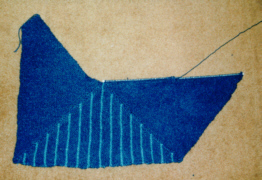
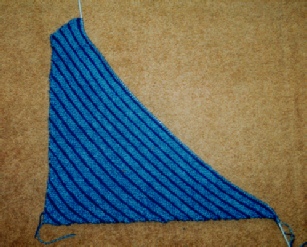
Starting at the centre front bottom edge, knit the under arm section, which will reach to the centre back, making the increases by picking up a stitch from the end of each ridge of the front section.
If you are working in stripes, or any other pattern, you will have to count the number of ridges and decide how best to fit the stripes into that number.
Start to decrease when there are no more ridges to pick up from.
Start with a small slope for the neck edge, then knit straight for the centre front and increase at the other side until the triangle is wide enough to form the front.
Decrease at side edge until all stitches are worked off.
Work the back section in the same way, picking up a stitch from each ridge end of the underarm section.
Increase in the normal manner at the other side of the square.
Once all ridge ends have been picked up decrease at both sides of the square until all stitches have been worked off.
Complete the second underarm section and second front to match the first.
Complete the sections at the neck in a similar manner or knit the pieces separately and stitch them into place.
Neaten all edges. Often it is sufficient to pick up a row of stitches and cast off again on the next row.
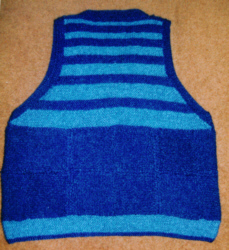
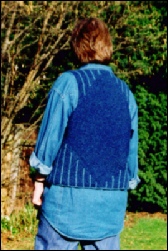
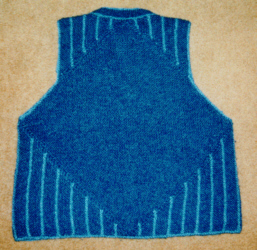
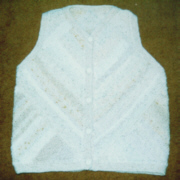
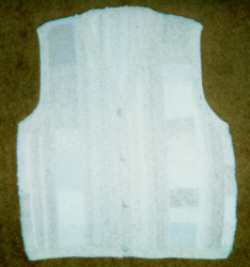
The squares in the lower part of this waistcoat were originally intended for another project. I stitched them into a strip long enough to go right round the waistcoat then picked up stitches and knitted upwards and downwards.
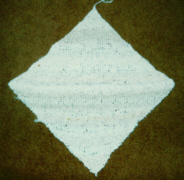
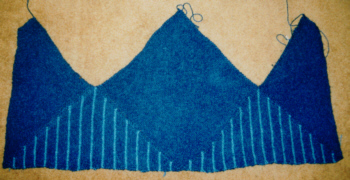
Start with one stitch and increase at the end of every row until the diagonal of the square is the size you need for the width of the back. Decrease at the end of every row until all stitches are worked off.
Divide the number of stitches on the diagonal by 1.4.
Along one edge of the square, pick up the number of stitches calculated. Knit straight at one side and decrease at the other end on alternate rows.
Make the other side to match
Pick up one stitch from each ridge end of the short side of the triangle just made. Working on these stitches, knit straight at the armhole edge for the required distance and decrease at the centre front edge, until the neck edge is reached.
At the back, leave a section of the square to form the lower part of the armhole, and pick up stitches from the rest of the square. Knit to the shape required for the armhole and back neck.
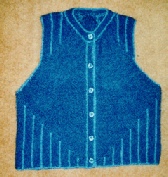
Neaten with narrow bands for buttons and buttonholes and for hem and armhole edgings

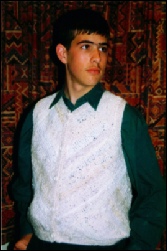
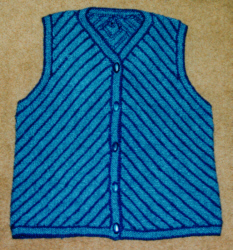
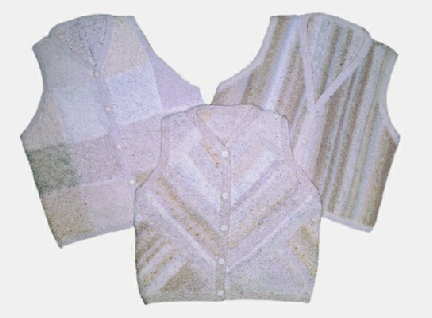
A more colourful version of the waistcoat above. The stripes are much more obvious here so they need to be planned carefully so that the two sides match.
This is an added complication that can be avoided if you go for a totally random effect.
Starting with a large square or triangle may not always be appropriate for the proportions you are trying to create.
A garment that is too short can easily be extended with extra panels at the bottom or as a yoke.
You may need an entirely different approach to create a shorter garment.
With just a little calculation, knitting sideways will easily give any shape you want.

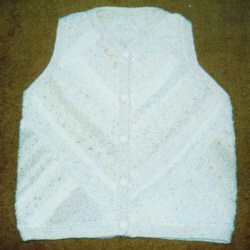
Make a template and knit separate squares in a variety of yarns. This is a good way to incorporate yarns of differing thickness.
Start with a narrow strip and knit until it is long enough to go up the front, over the shoulder and down the back. This will give the basic measurement for your length. You can then add more similar strips and/or work sideways to give the correct shape.
Most of these cream-
See Second Thoughts Pages 72 -