Using strips
A design can begin with a straight strip of knitting, such as those used in the rectangle sweater and one of the cream waistcoats.
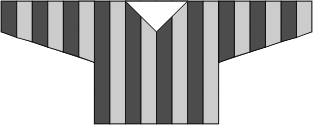
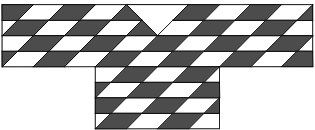
It is equally easy to start with a diagonally striped strip. Start with one stitch and, keeping one side straight, increase at the other side so that you create a 45 degree angle. When the strip is the width you require, continue to increase at the same side and decrease at the other side. Keep knitting until the strip is the length you want. This could be a strip that goes horizontally or vertically and form the full length of the garment or just a part of it. When it is the correct length, finish off the end by decreasing at both sides.
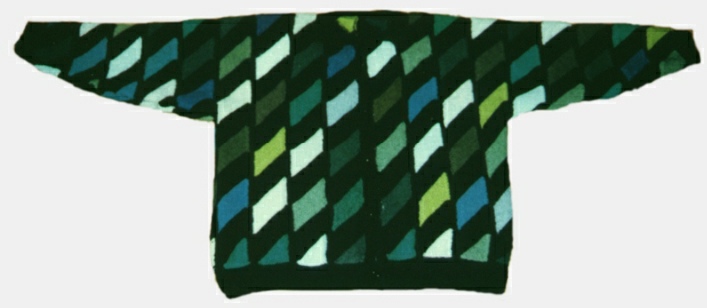
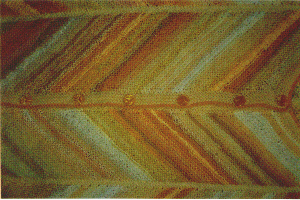
This jacket was planned with colour changes so that the diagonal strips appear to be small parallelograms. The same dark green was used for alternate squares throughout, and for the bands and cuffs. The other shapes were all from oddments of green yarn in many different shades.
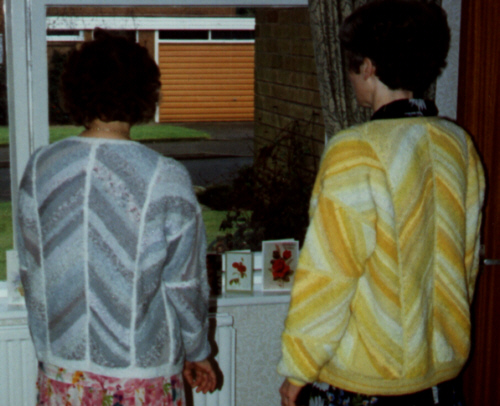
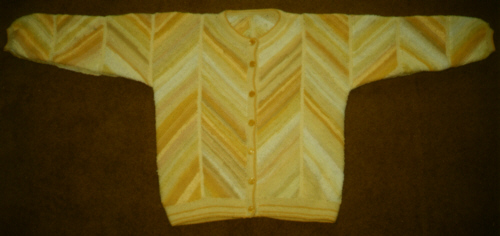
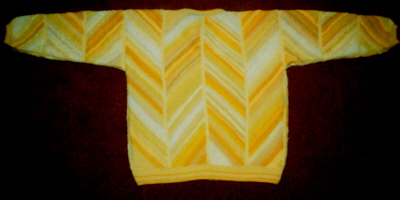
Oddments of yarn were also used for this jacket. Short lengths were tied together randomly into a large ball. The ends were woven in on the back. The slightly uneven nature of the yarn hides any bumps from the knots. The construction of the strips was the same as for the green jacket though the strips were wider. Chevron strips make it easy to form the neck without any shaping.
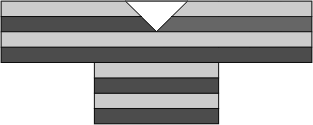
The shaping of the strips was worked in opposite directions so they could be joined as chevrons. (You can simply turn one strip over but be sure you know which side will have the knots.)
Each strip was edged with the same shade throughout and the strips were stitched together.
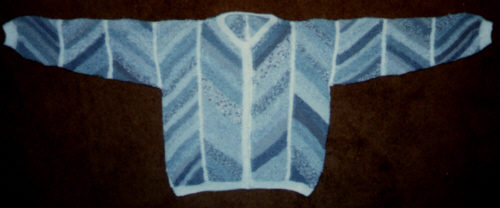
The grey jacket was made in the same way, with the strips edged in white. The picked up stitches for the edgings could have been used to knit in new directions.
Take care when working with narrow strips. They are easily distorted and a piece which seems long enough when you first knit it may shrink back to its proper proportions when you pick up the correct number of stitches along its edge.
See Second Thoughts Pages 38 -